My Pet Turtle - Part 5 - 100 Gallon Enclosure

Greetings!
Can you believe it has been 4 years since I’ve written a turtle blog!?! Well, I’m back and here to talk about Sandy the Turtle’s latest and greatest enclosure EVER. We are talking 100 gallons of reptilian paradise! Sandy is an abnormally large turtle for a red eared slider in captivity and she was outgrowing her tanks very quickly. To be honest, she was in her last tank far too long. I wanted to create something that would last a few years, so in 2018, I put together the 100 gallon horse trough she has today and in this blog I will discuss the major components of it and generally how I did it. In a future blog, I will go through the custom canister filter I created out of a 5 gallon kitty litter bucket as well as review some of the bits and pieces such as heaters and pumps and such in greater detail.

The Vessel
I had to upgrade from a 50 gallon aquarium to something larger and in 2018, I was getting married and didn’t have a lot of money to be buying a huge aquarium. They aren’t cheap! I was also having algae issues with glass tanks in windows. Unfortunately, in our apartment, my now wife and I didn’t really have many places to put these big tanks, the bump out in the dining room was just about it. The sun only hits the windows for a very brief time in the afternoon and I would block the sun in the window with various materials, but I’d always get a little green growth. So, what to do when I have to put a bigger thing by a window and I didn’t have a lot of money? I went with an opaque, plastic stock tank designed for live stock to drink out of. I went with a model by Rubbermaid that was on sale at Tractor Supply for only $80 at the time. By placing the thing on the floor and using plants, egg crate, and other shade, the sun hits the basking area but does not hit the water and I haven’t had an algae issue yet.

The Basking Area
Basking is the key to the happiness of any reptile and I wanted to make something that giant Sandy could enjoy. Previous enclosures had areas for her that were just big enough. I wanted more! The base of the basking area is 3/4” plywood cut to fit against the round end of the stock tank just under the lip. I surfaced the area with adhesive linoleum tiles off the shelf from Home Depot and used some small stainless steel screws and washers strategically to keep the linoleum from peeling up. For a ramp, I used what’s called a splash block and covered that with an ordinary rubber bath matt to give the ramp texture for Sandy to climb. The rubber is fairly easy to clean and zip-tied on. If it gets too grubby, I just cut it off and buy a new one. The ramp is held up underneath with a sealed 20 ounce soda bottle zip-tied about halfway down the ramp. Despite her weight, the soda bottle provides just enough buoyancy for her to climb up and down and allows the ramp to ride the water level as it evaporates. The basking area is enclosed by plastic lattice capped with plastic channels that come with the lattice in Home Depot. Getting it to curve around the edge was awful. Way better for right angles, but I have to do everything so complicated! As seen in the photo above, I had to notch the plastic channelling to get it to curve and used stainless screws along the bottom edge (into the plywood) to hold it in place. I used small screws along the top top keep the lattice in the top of the channelling as well. For basking, I have a run-of-the-mill 75 watt basking bulb and I use a car sun shade opposite that to help keep the light focused on the turtle. The reflective sunshade has the added benefit of ‘hiding’ her from the room. Everytime the dog would walk around she would dive into the water, but with a little cover, she feels comfortable enough to bask. She loves it!


Water Management
One of the worst chores ever is changing and cleaning the turtle tank and I wanted to make that task as easy as possible, so I drilled a hole through the outside of the house. That’s right! Destruction! A feature of the rubbermaid stock tanks is a plug for drainability, otherwise once they are filled, you could never move them. I will use a future blog post to go over what I did in detail, but essentially put a PVC valve (Pictured above) through where the plug was and out the side of the house. With that 2” PVC valve all the way open, it takes a few minutes to completely drain the 100 gallons and all the water just goes away from the house and into the back yard. This is incredibly convenient! I no longer have to scoop water out or create slow siphons or messy pumps. All I have to do in open the valve! To get water into the tank, I run a hose from the nearby kitchen sink. First I get the water temperature right and then I run the hose across the room and right into the tank. This does not work everywhere I imagine as tap water can have contaminates, but our water in our town and pipes in the house are surprisingly clean and nice. I test the tap water every once in a while to be sure, but it hasn’t been an issue. Once we move to a bigger place, I plan to use a similar system, but I will create an intermediary tank to hold water to be absolutely sure it’s clear of heavy metals and such. With such a big surface area exposed and the water movement, the water evaporates quickly. I drain the water to the 20% mark and refill about once a week.


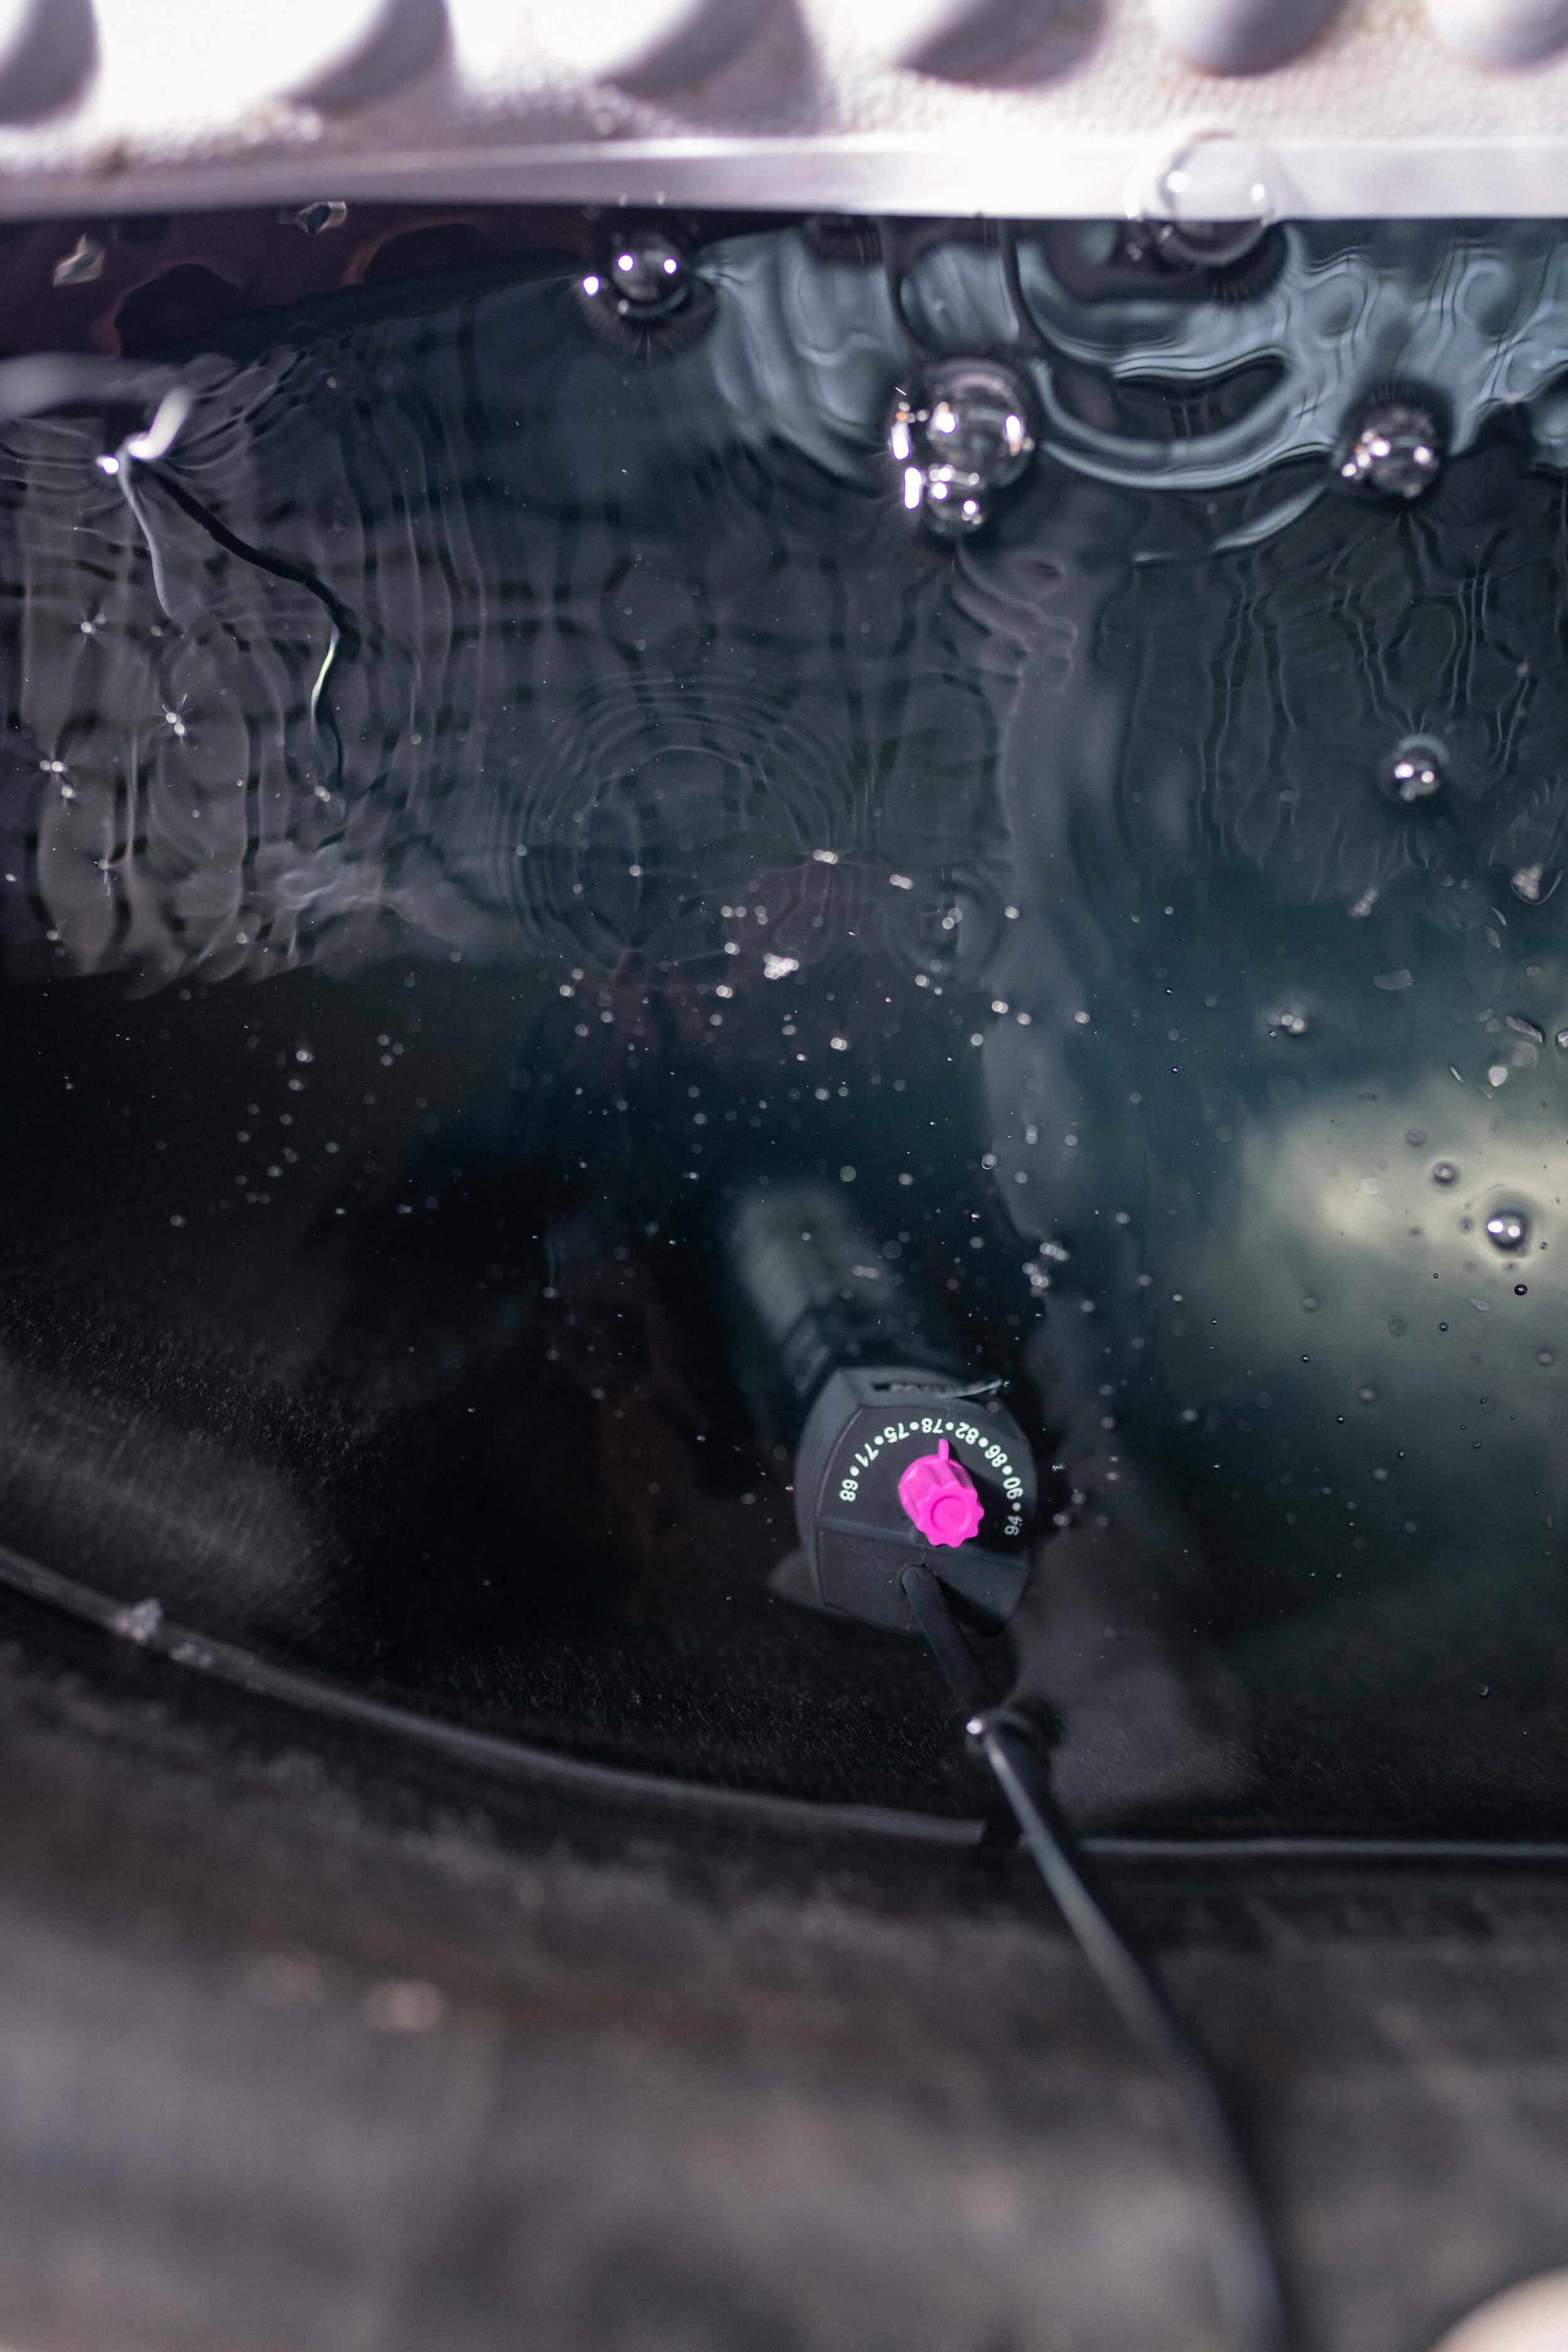
Water and Air leading into the filter


Clean water leaving the filter
Filtration
I don’t know about most turtle-lovers, but I have had a heck of a time learning the hard way with filters. The ones they sell you at the pet store when you know nothing really suck, get clogged quickly, or smell. I’ve gone through so many different filters over the years it hurts! In 2018 when I built this new enclosure, I didn’t have a lot of money to spend on this project, so I went a different direction with filtration and built my own. I Plan to go into extreme detail about how the thing works, but it works extremely well and cost way under $100 (I’ll price out what I bought when I can find the receipts). The filter is essentially a repurposed 5 gallon cat litter bucket filled with layers of filter media. It doesn’t need to be cleaned often, neutralizes smells, and doesn’t get clogged ever. I bought a pump to get the water into the filter that turned out to be WAY too powerful, so the pump runs on the minimum setting. I’m glad I bought a pump with a digital controller! Anyway, the filter bucket takes in water on top. From there, a pipe runs to the very bottom of the bucket and fills from the bottom upward through the media and a small amount of activated carbon. Once the water reaches the top, it cascades into another pipe that goes down and out of the bucket. Of all the DIY on this project, I am most proud of the filter bucket and how well it works. I made it easy to clean too. There are some things that I replace every once in a while inside (carbon and filter padding), but the cost is negligible.
Heating & Winterizing
New England gets cold and our apartment is drafty even though I plastic the windows and stuff towels in cracks everywhere. I’ve had bad luck with heaters over the years having them split open and die often. I have found success with two 300 Watt heaters spaced far apart in the stock tank. They are set to 80 degrees almost always. When it gets colder, I put thick clear vinyl sheeting over the top of the stock tank to keep the heat in there. I won’t put anything over the basking area. I also keep a fleece glove stuffed in the PVC drain pipe outside of the house to stop cold air from travelling up that way. I can’t tell you how many times I left that thing in there and it shoots across the lawn when I open the valve!

Final Thoughts
I would say that I’m a fairly handy person, but I’m proud of how this project turned out and how well it has worked over the last two years of use. There are some small improvements I would like to make, but Sandy has been happier than ever with all the room to swim and bask. Aesthetically, I think it looks fine and probably could be improved, but it feels less intrusive than the old, smaller tank as it sit below the windows instead of right in front of them. It’s also a great place to put some plants. I plan to go through each item in detail in their own blog posts for anybody looking to build their own.